Nura Flow 101
Welcome to Nura Flow, a robust and intuitive platform developed by NuraML, designed to simplify and automate content creation workflows. This guide will walk you through everything you need to get started.
What is Nura Flow?
Nura Flow enables users to create visual workflows known as blueprints, facilitating automation of repetitive tasks. Nura Flow allows you to design a workflow once and execute it as many times as needed with different inputs.
Key Concepts
- Blueprint: Visual workflow created using connected nodes.
- Nodes: Individual functional blocks with specific inputs and outputs.
- Edges: Connections between nodes' inputs and outputs.
Interface Overview
The Nura Flow interface consists of a sidebar navigation and a main content area.
The sidebar includes:
- Request
- Gallery
- Blueprint
- Media
- Settings
The following sections describe these features in detail.
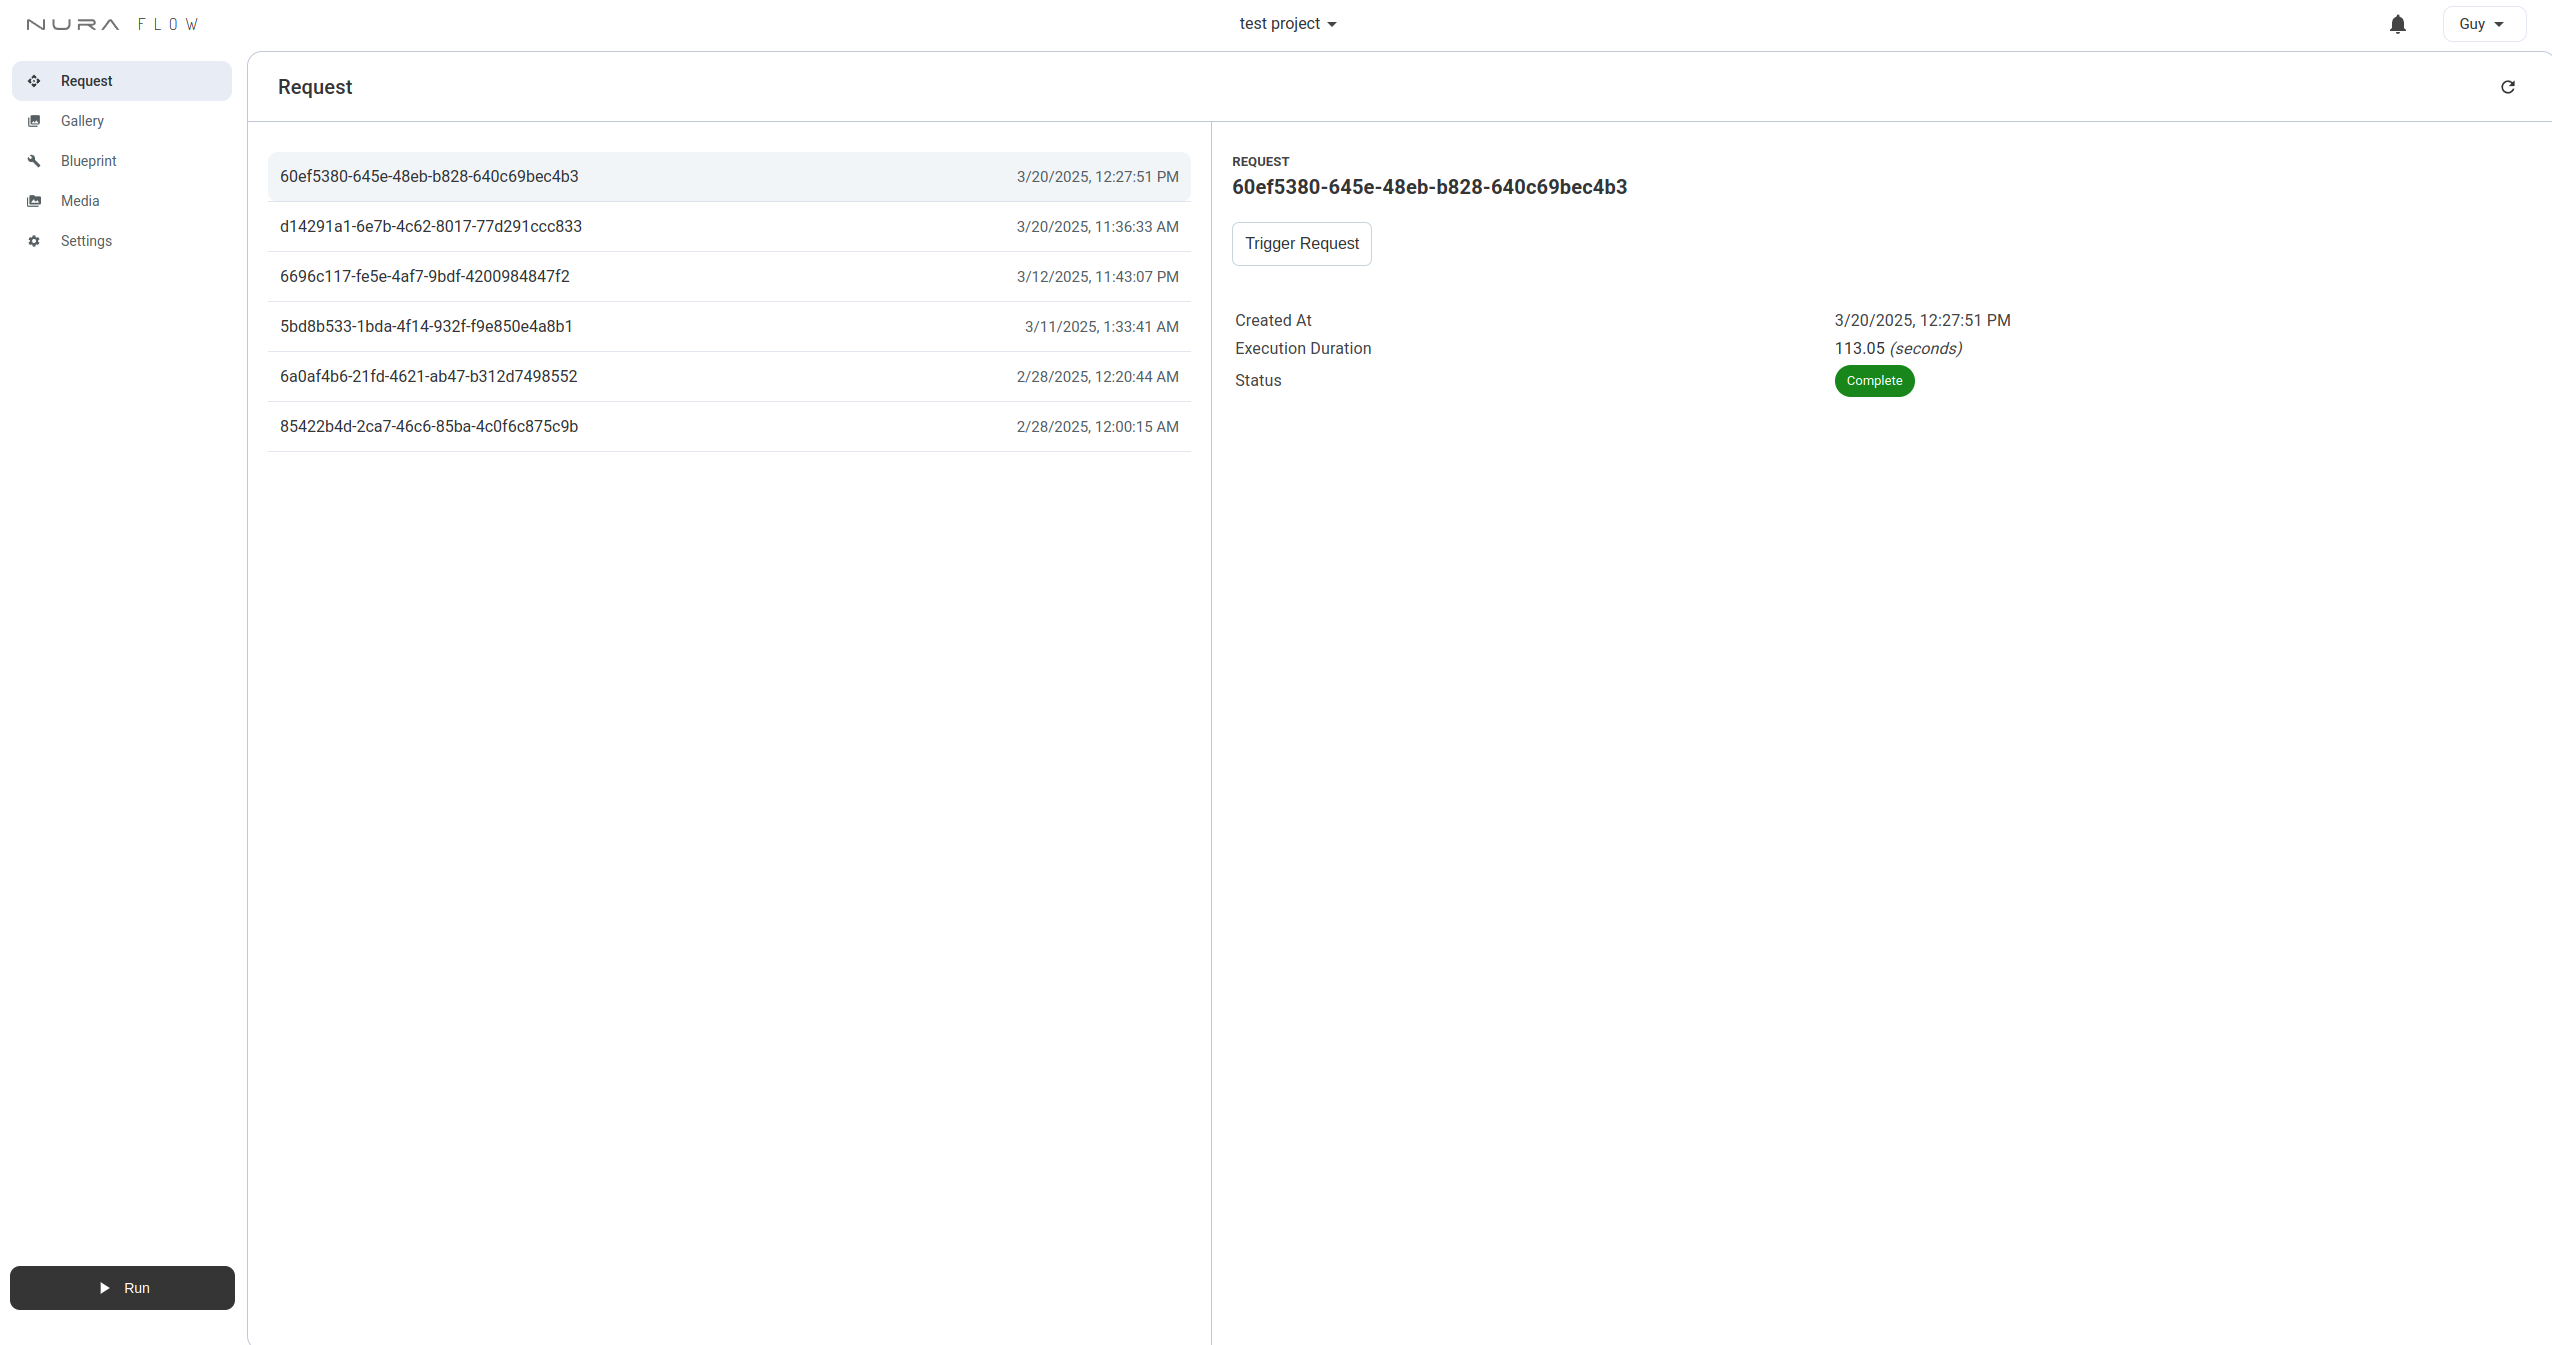
Request Page
The Request page tracks workflow executions.
This page provides:
- A list of past and ongoing workflow executions
- Details such as:
- Execution duration
- Status (e.g., Complete, Queued)
- Execution timestamps
Requests listed here are user immutable, meaning once they are created, they can not be modified by a user.
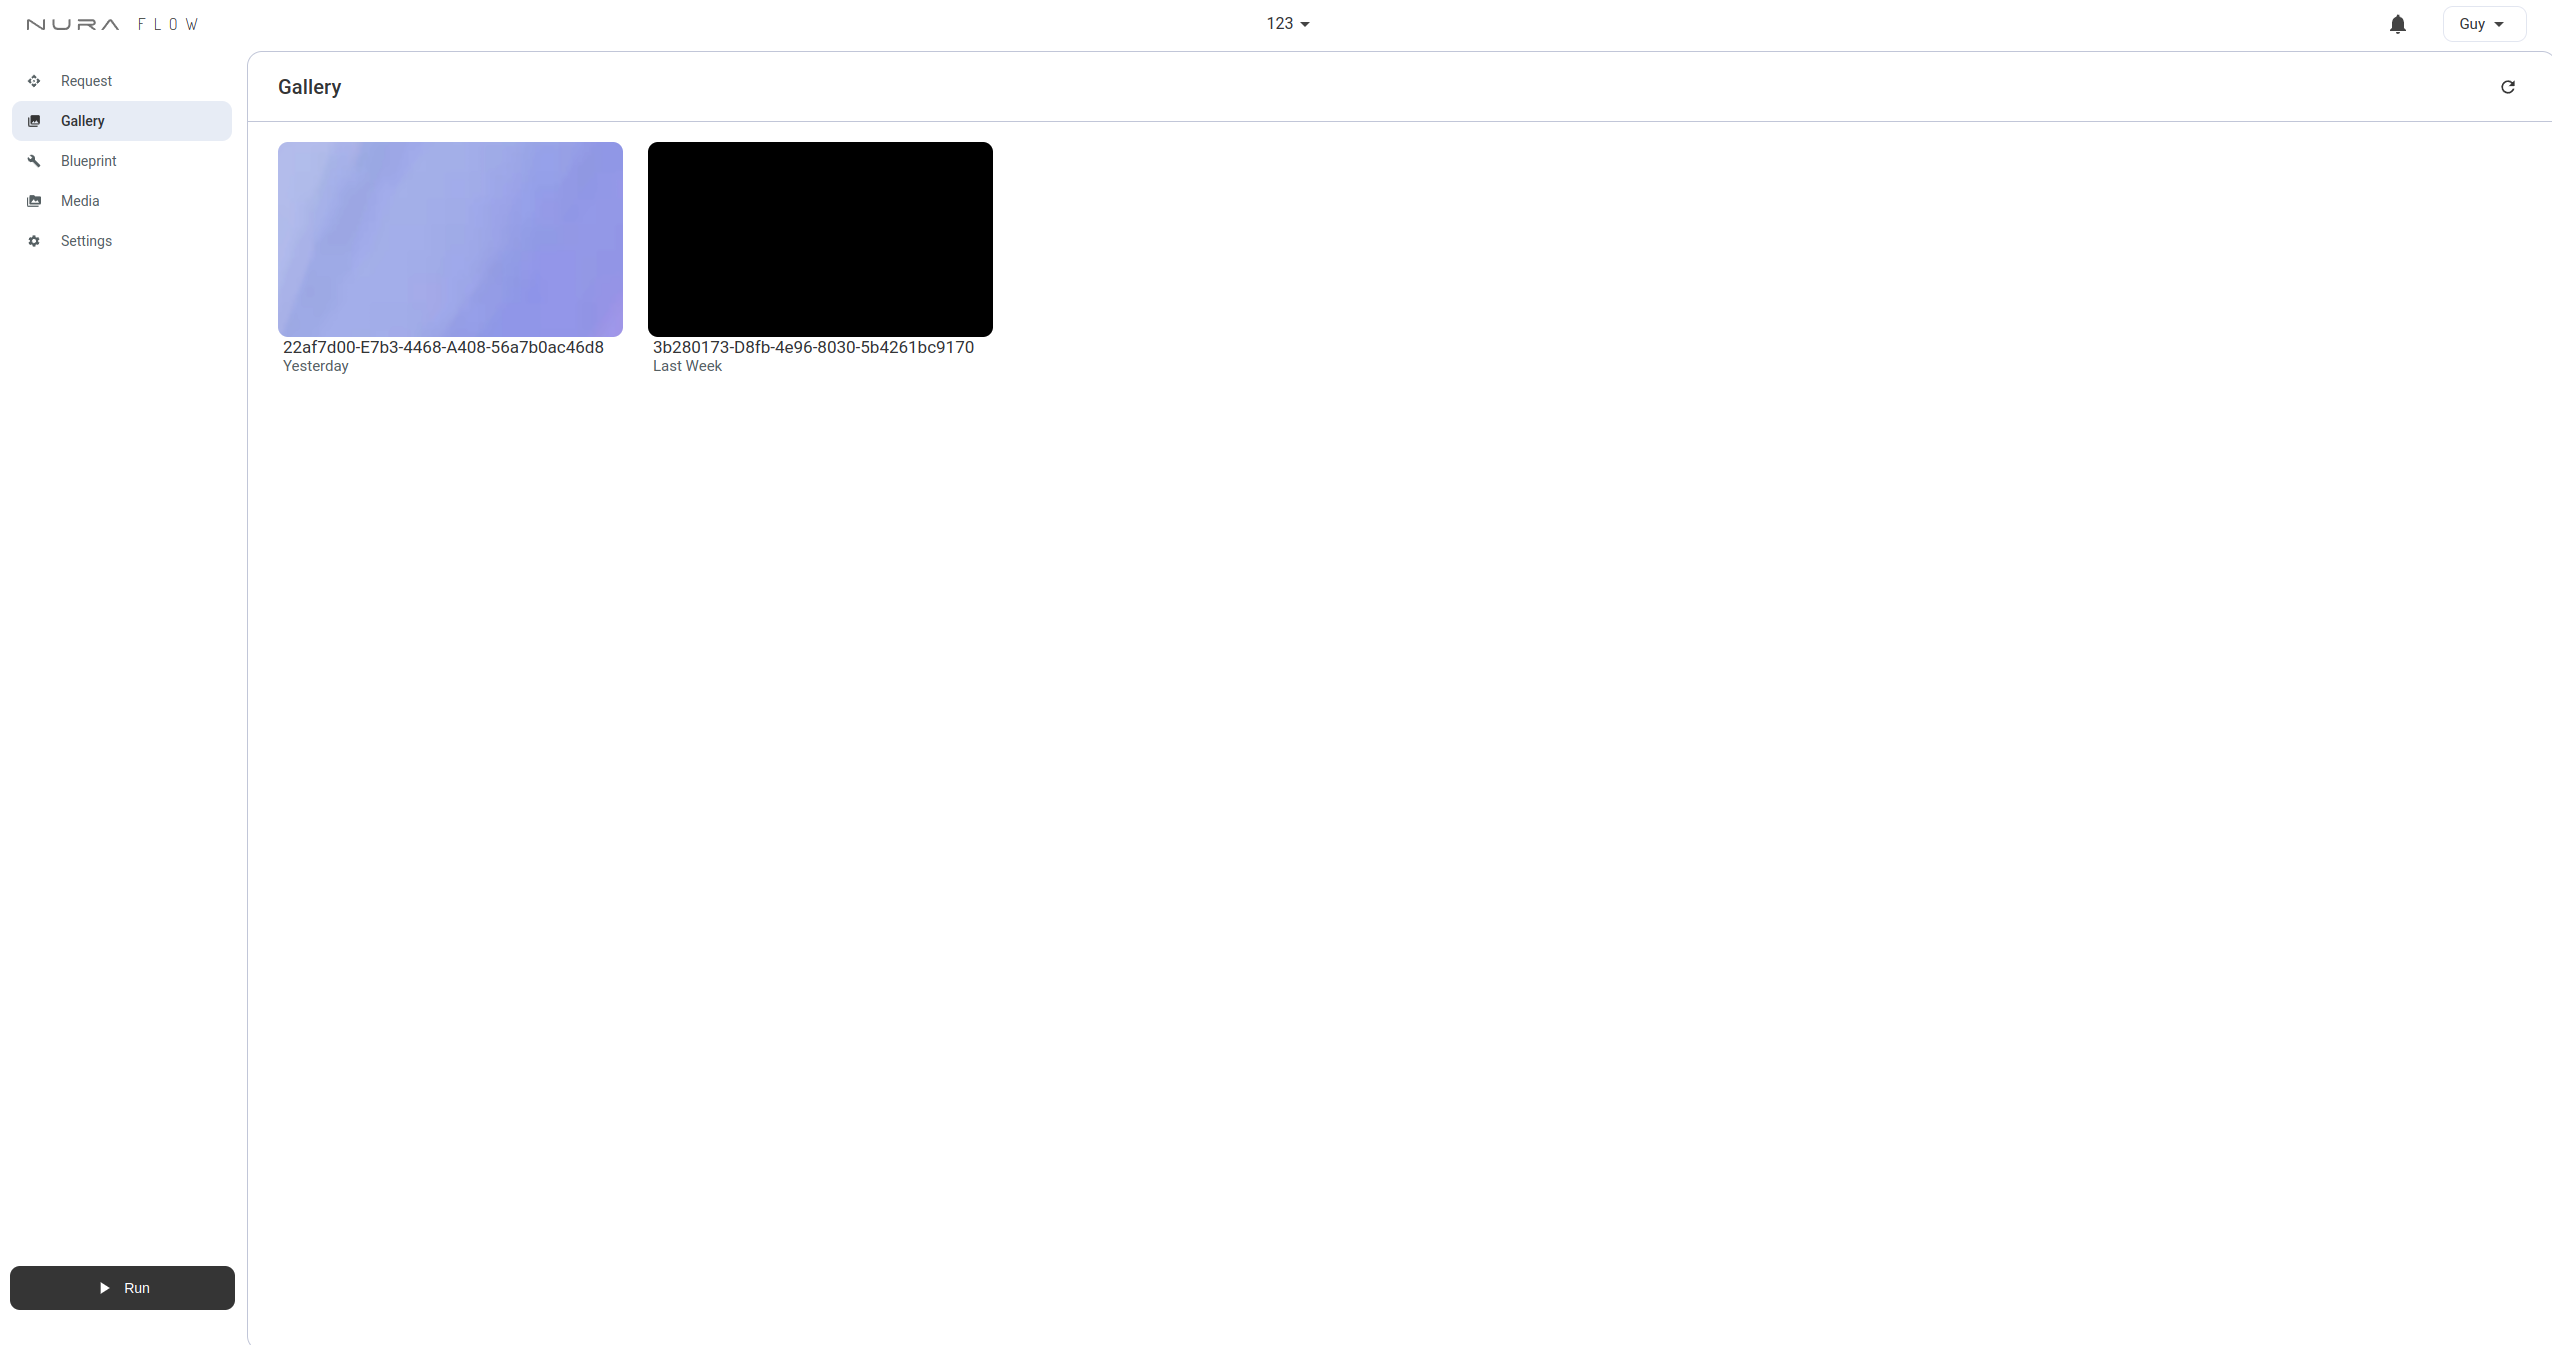
Gallery Page
The Gallery stores the finalized outputs from workflows:
- Videos saved via SaveToGallery
- Images saved via SaveGraphicToGallery
- Audio saved via SaveAudioToGallery
Ensure your workflow nodes include these saving nodes to populate the gallery.
Blueprint Page
Blueprints are visual diagrams connecting nodes that execute specific tasks. Nodes have clearly defined Inputs and Outputs, identified by colored handles. Compatible connections are indicated by matching colors.

You can search for all available nodes by either using the search icon at the top left of the page, or by double clicking anywhere on the canvas.
Searching brings up the search dialog, where you can select the node you want to appear on the canvas.
Tip: Drag from an output handle to automatically filter compatible nodes.
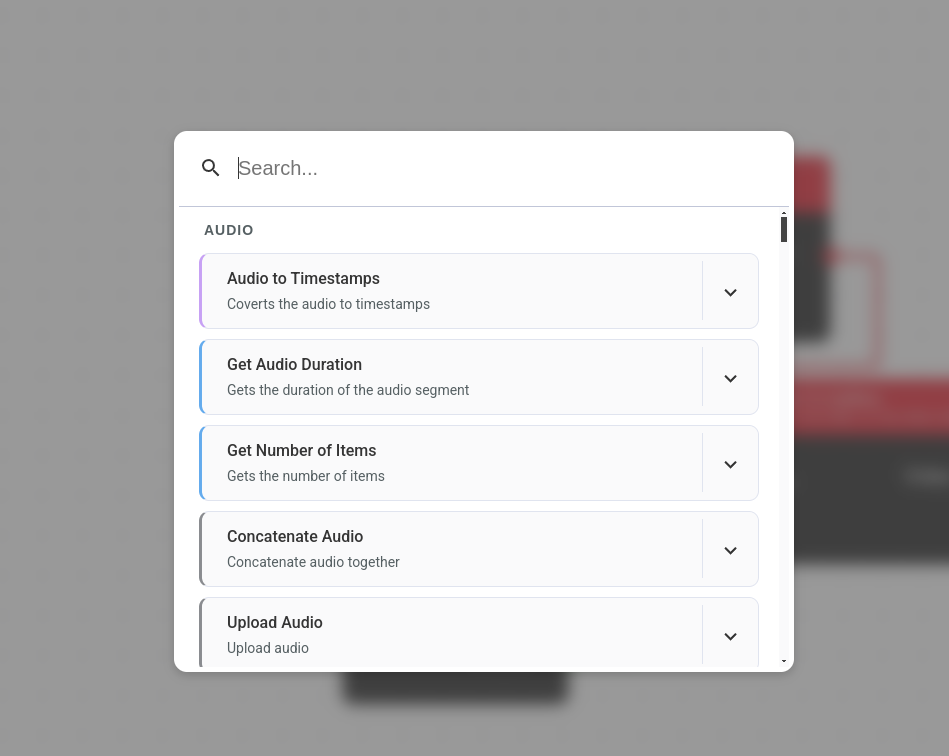
If you are unsure what a specific node does, you press the drop down button on the list item in the search dialog. Or by referencing the node documentation.
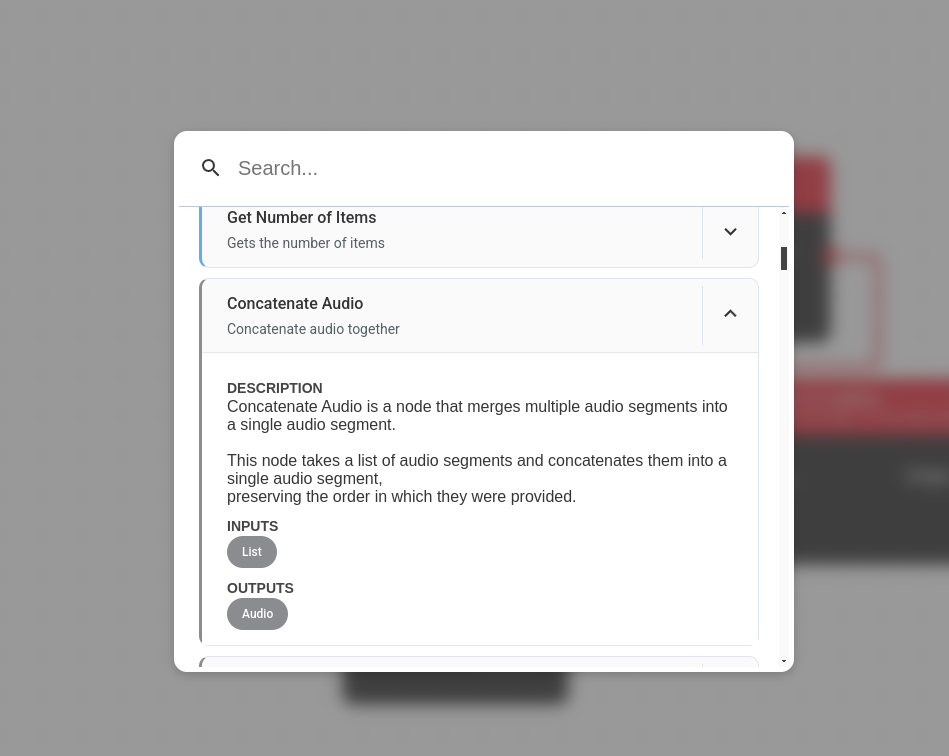
The nodes available depend on the account plan, which is indicated within search dialog.
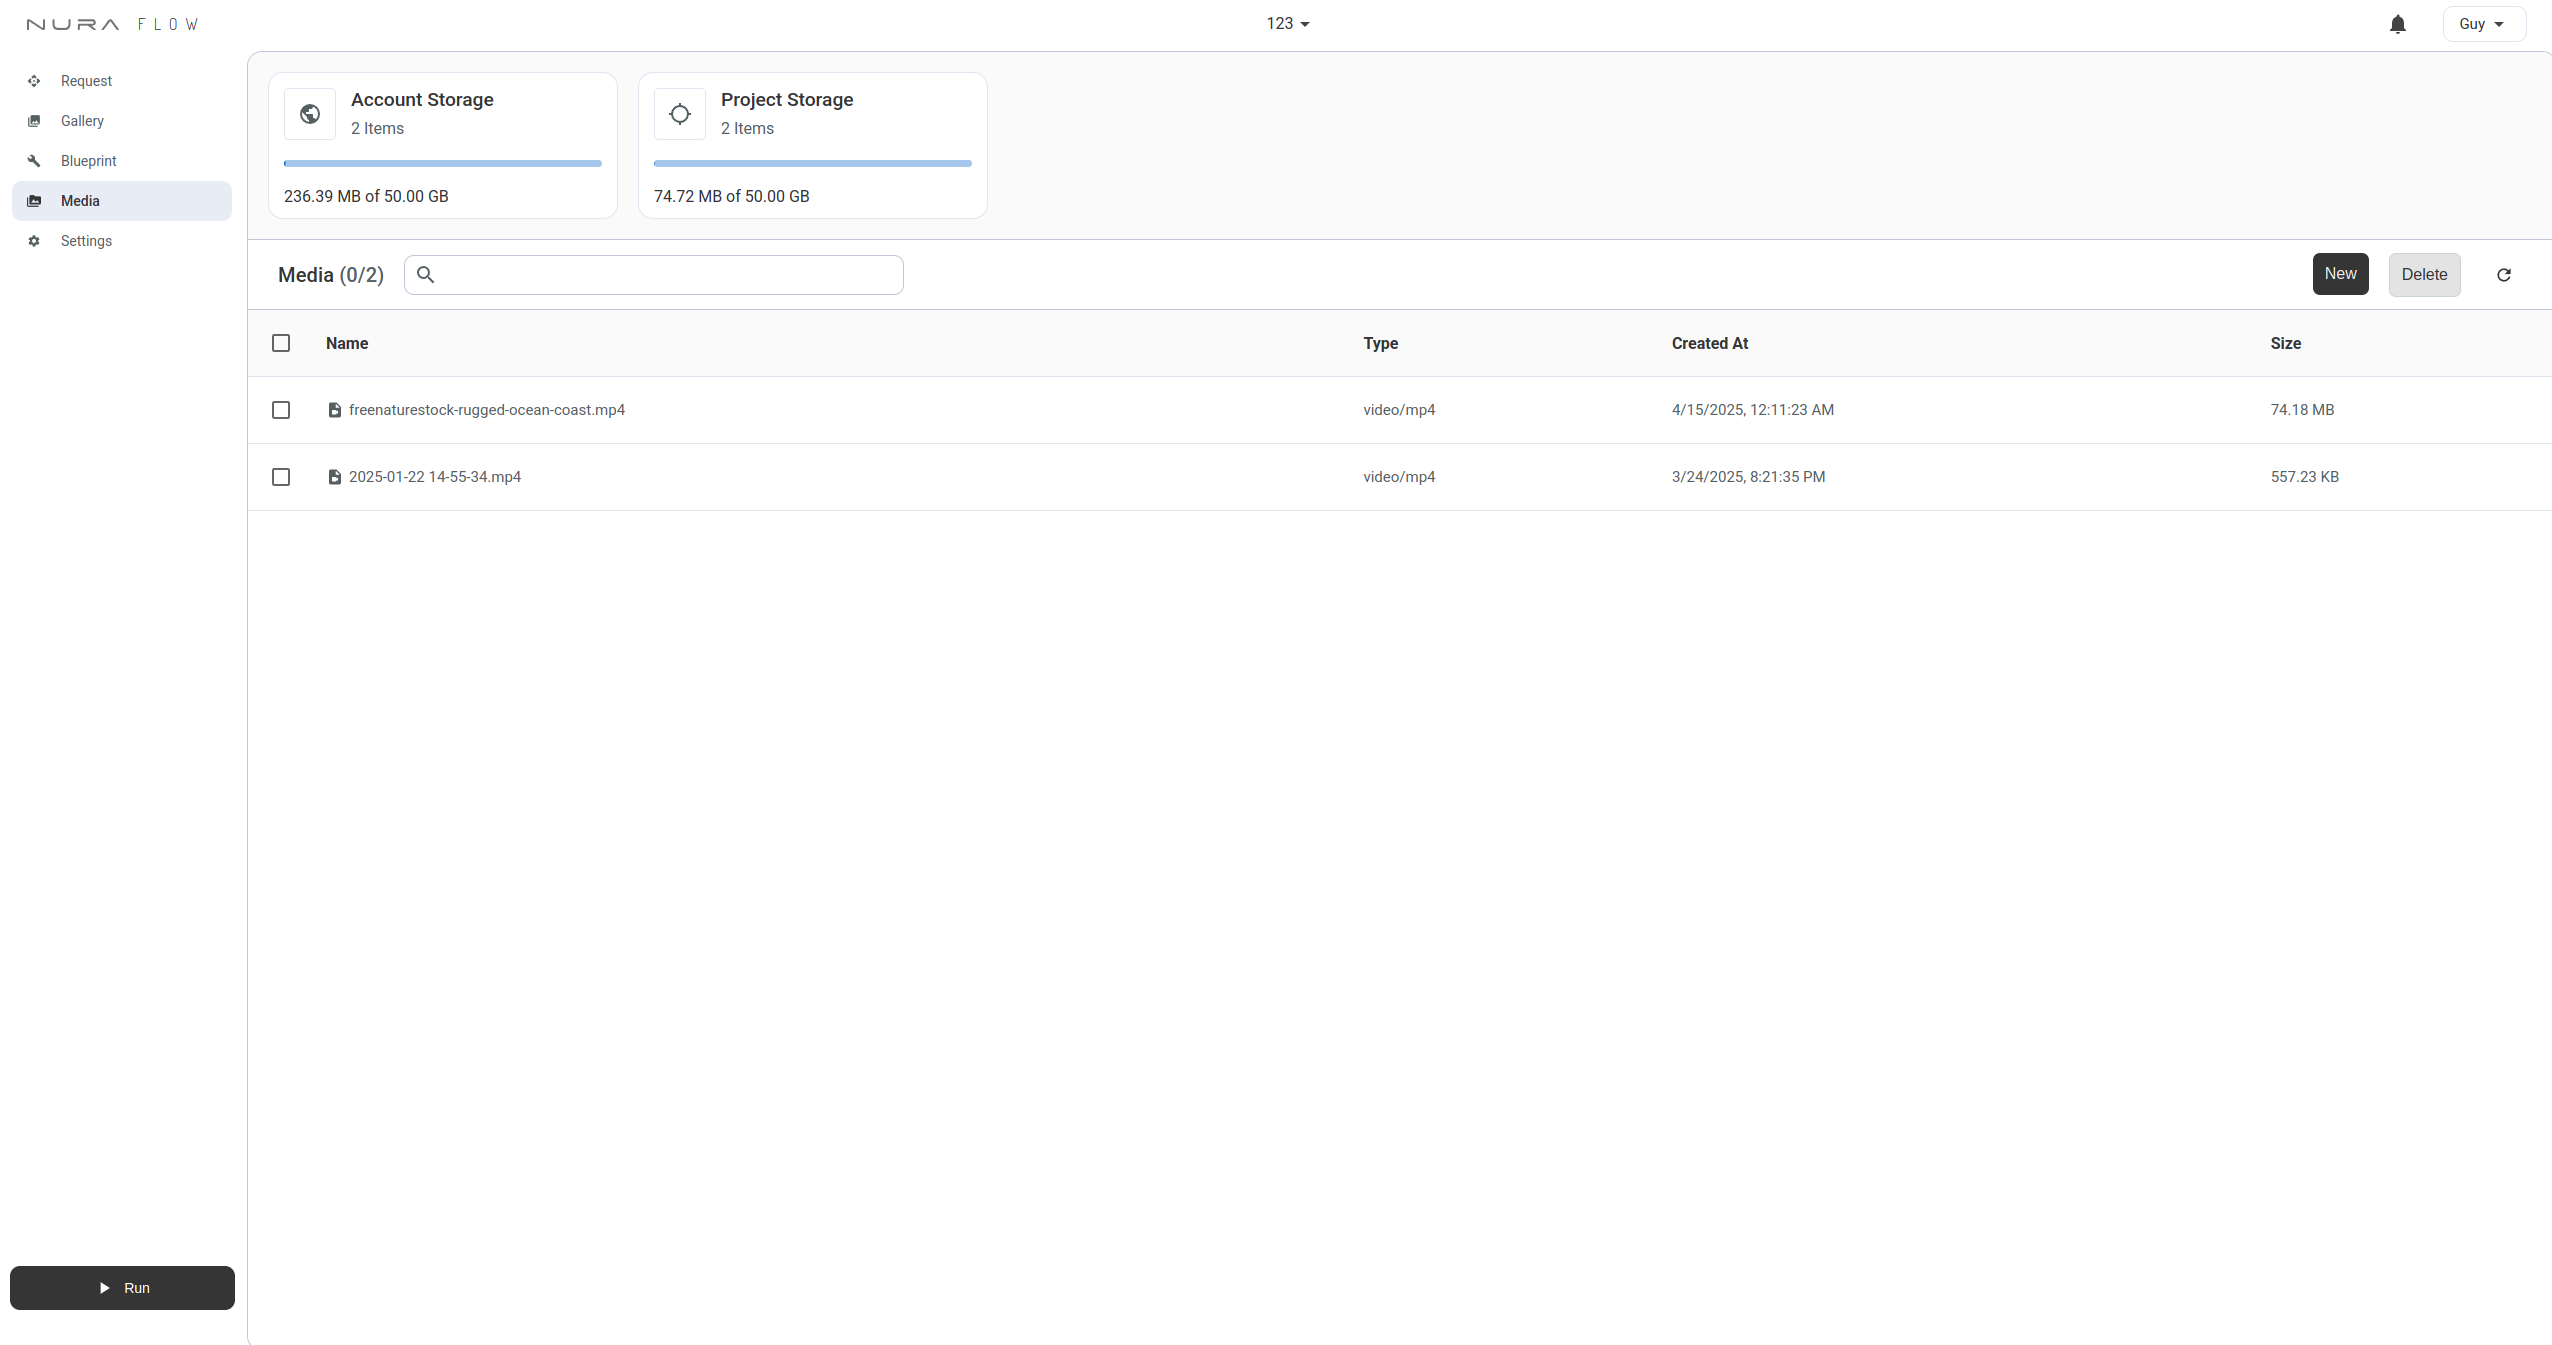
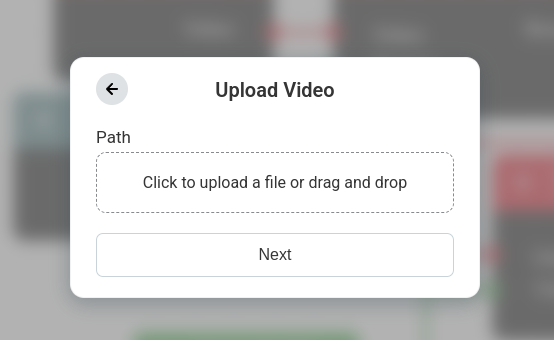
Media Page
The Media page contains all media inputs uploaded when running workflows.
Storage limits depend on account type; review your plan details to manage available space.
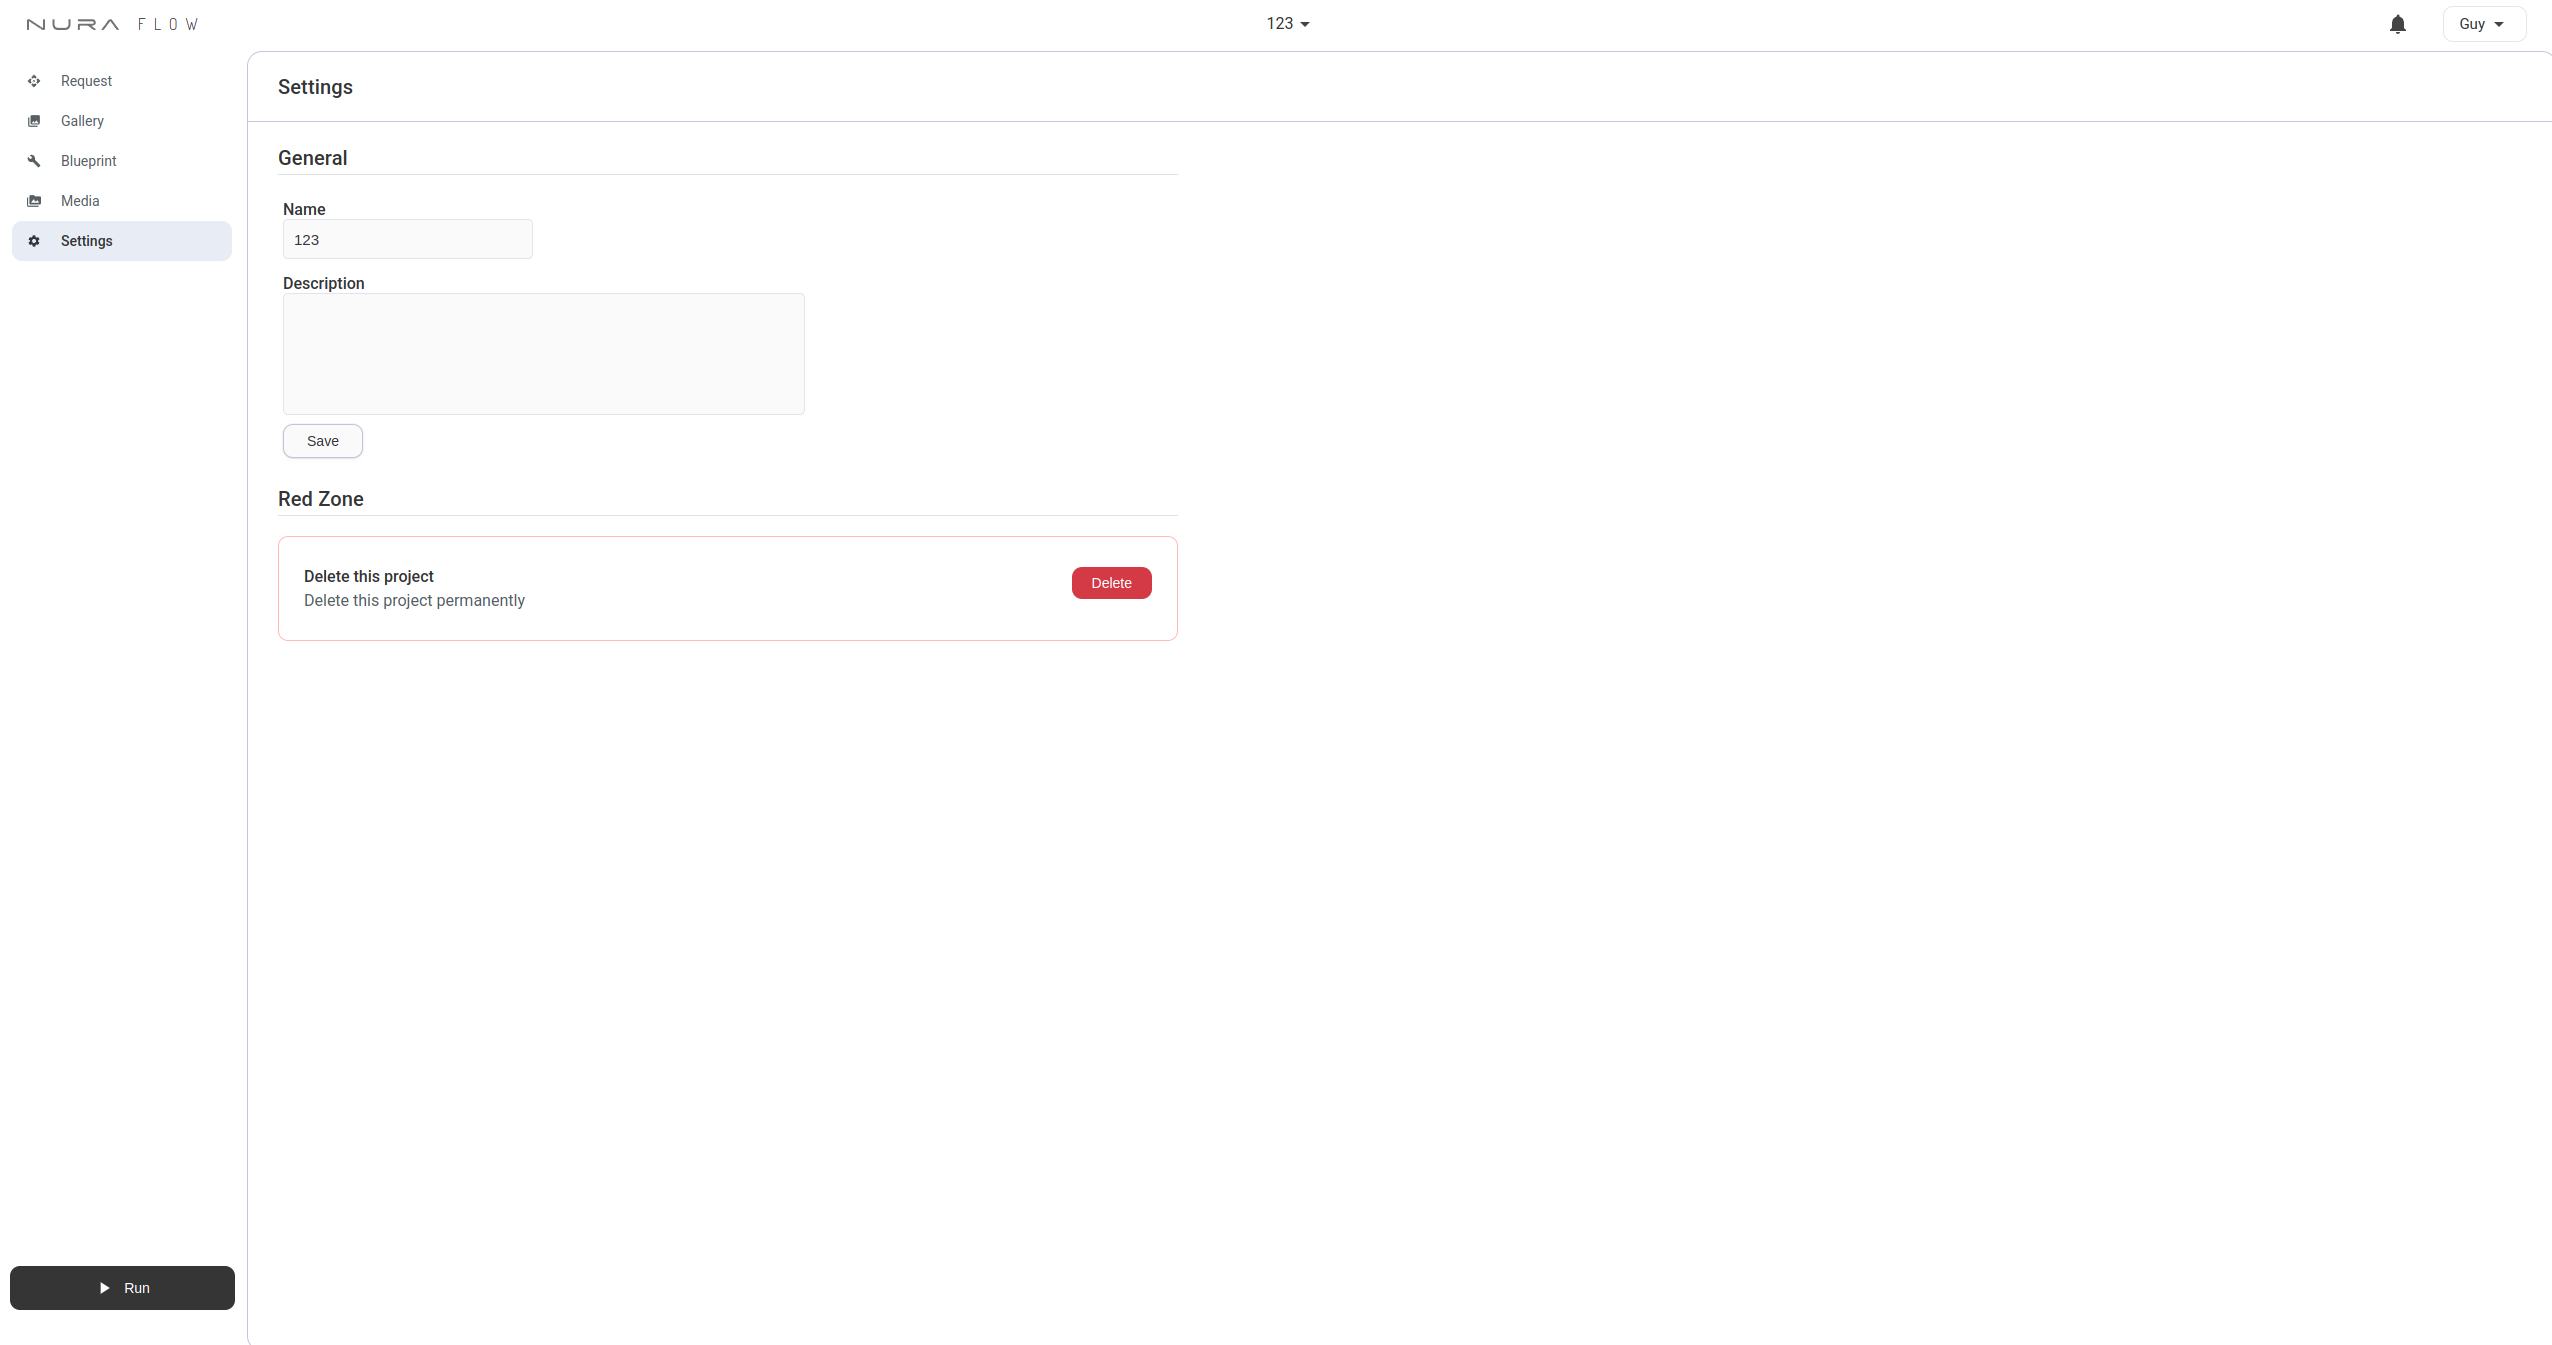
Settings Page
Manage your project's basic settings:
- Rename the project
- Delete the project (use caution)
Running Workflows
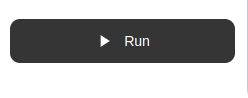
The Run button, located at the bottom-left, initiates workflow execution:
- Identifies required inputs for the latest blueprint.
- Prompts you to provide inputs.
- Executes the blueprint using Nura Flow’s servers.
Occasionally, the Run button may be disabled, indicating the workflow is queued and awaiting execution.
Additional Tips
- Use node colors to easily match compatible inputs and outputs.
- Set default node values to avoid repetitive input.
- Regularly check the gallery to monitor workflow outputs.
Next Steps
This guide covered the fundamentals of Nura Flow. The following tutorial will demonstrate how to create your first practical project.
Happy creating!